Lovely Layout + Video


Hello again all!

I'm back today to share another layout I created with the new St Tropez collection by Prima 
that I received from Anna's Craft Cupboard this month.

My layout is of my two children and I on a recent day out to the beach, which is still possible in Qld in winter :)


I have started with some splashing on my background.
I have then added distressed pieces of the 12 x 12 papers, along with pieces of the


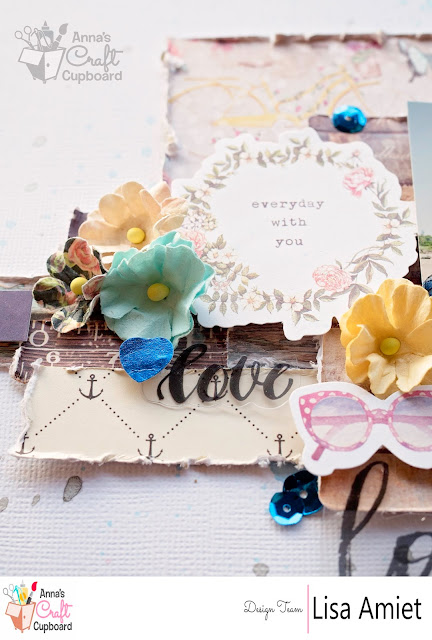
I have then used some of the die cut and acetate pieces from the 'Ephemera Pack' to layer upon my layout.


I have also the 'lovely' acetate piece from the 'Ephemera Pack'  as my title.


I have then used some of the 'Meredith' and 'Isla Marina' flowers layered among my embellishments.
To finish I have then used some of the 'Jillibean Soup Sequins Blue'.

I have also created a process video so that you can see exactly how it all came together.

You can watch it HERE.

Thanks for stopping by! Until next time,

Lisa xo
Forever Layout for 7 Dots Studio


Hello again all!

I'm here today to share a layout that I have created for


Just a few days ago my husband and I celebrated our 20th Wedding Anniversary!
So in honour of the occasion I have created a layout featuring him.

'Forever'


The Hazy Days collection is perfect for my theme as it has a grungy, film like feel to it.
Ideal for a layout about a special man.

I have used Hazy Days Oil Spill 12 x 12 as my base and have then used the 
'Alphabet Stencil' and the Hazy Days Chevron Stencil with a mixture of inks and modelling paste to add dimensions and texture to my page.


I have also used the Hazy Days Clear Stamps in brown and blue to add some extra colour.


I have used pieces of the Hazy Days Pad 6 x 6 and some of the 'Hazy Days Die Cut Elements, which I have distressed and layered with the Hazy Days Tags 12 x 12.


Then I have added some Hazy Days Word Stickers, Hazy Days Element Stickers
and 'Die Cut Elements'


That 'forever' title is from the awesome 
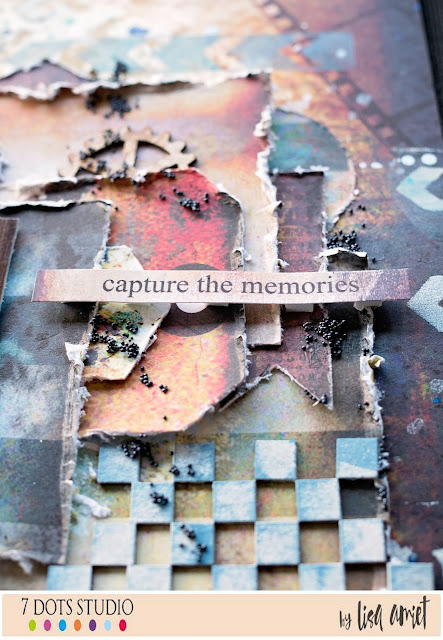
2Crafty Chipboard, as are those fab checkerboard clumps, and 


the awesome gear cogs.


To finish I have used dribbling of Prima's Micro Beads in black.

I hope you like what I have created, I really love how it turned out.

Thanks for stopping by

Until Next Time

Lisa xoxo

Ocean Plaque


Hello again!

I'm back today to share an OTP wall plaque that I have created using 
Prima St Tropez collection from

Something a bit different for me, not being a layout :)


I have finished the plaque in black gesso and I have then used 
Prima's Opal Magic Wax in Turquoise Satin over the top. 
It makes the black into a metallic shimmery finish

I have then used pieces from the 12 x 12 papers, along with some of the '3 x 4 Journalling Cards'
all of which have had their edges distressed.
I have added some shells from the beach, as I love collecting shells!


There are gorgeous ocean tones of blue in this collection.
I have used pieces of the 'Ephemera Pack' to pull it all together. There are some acetate pieces,
some blue foiled accents, die cut floral pieces and generally all sorts of Prima goodness!

I have also used a piece of the 'Parisian Border' from 2Crafty Chipboard, finished in 
Prima's Rose Gold Metallique Wax.


I have also used some of the 'Isla Marina' and 'Oceana' flowers.
To finish it off I have used some 'Prills in Baby It's Cold Outside' and 

I really love how this turned out and I am going to hang it in my office for ocean inspiration when I can't get to the sea!

Thanks for stopping by! I'll be back with some more to share with you soon.

Lisa xoxo

Follow Your Dreams - 7 Dots Studio Video Tutorial


Hello all!!

It's my turn to share again up on the 


For this layout I have used the 
which worked perfectly with the inspiration to this layout, 
which was to try and teach my daughter to follow her heart. 
That she is able to dream, hope and imagine all that life has to offer. 

So, here is 'Follow your Dreams'


For this layout I have used Dreamscapes Cloudy 12 x 12 paper as my base.


I have then gotten splatter happy with my mists, and some stamping with the 


I have then used pieces of the Dreamscapes 9mm 12 x 12 paper and pieces from the 
Dreamscapes 6 x 6 Paper Pad, that I have distressed to make up my layers.


I have also used Dreamscapes Tags 12 x 12 and 
some of the Dreamscapes DieCut Elements 6 x 12 added to my layers.


And some of the 'Word Stickers 6 x 12'


That gorgeous piece of chipboard is from


And to finish off I have used some pills and art stones for texture, and of course some gorgeous flowers from Prima & Green Tara.


I have created a process video for this layout 
that you can watch below.


Thanks for stopping by!
I hope I have inspired you to create today.

Lisa xoxo

Love


Hello everybody!!

I am here today to share a layout with you that I have created with Prima's new collection St Tropez, that I have received this month from the awesome 


Oh my this collection is gorgeous, full of sea and beach themed elements.
My layout today is a picture of hubby and I at the beach so it fits perfectly with this collection.


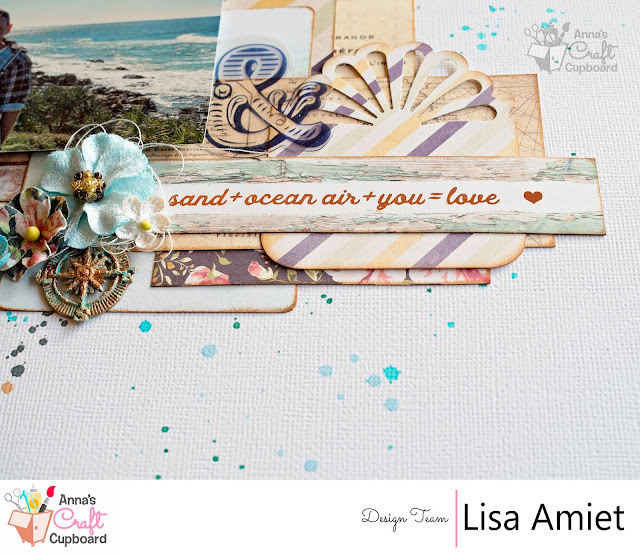
I love that yellow and blue striped paper, it's gorgeous!! I have used a bit of it on this layout.
I have also used some of the  '3 x 4 Journalling Notecards' among my layers.
I have inked all my edges to make them stand out more.


Added to that are beautiful rose gold accents on the papers.
I have also used some of the acetate and die cut pieces from the 'Ephemera Pack'.


Of course being a Prima collection there are flowers.... all kinds of flowers.
I have used the 'Meredith' flowers which are larger velvet flowers with a gold beaded centre.
I have also used some of the 'Isla Marina' flowers which are paper flowers that co-ordinate with the papers from the collection.
Finally are the gorgeous 'Oceane' flowers which are tiny velvet flowers in shades of blue and white. I have also used a compass charm that I have finished using the Patina Effect Pastes. 


Anyway I hope you like this layout. St Tropez is a beautiful collection, I will have some more to share with you all soon.

Until then, take care
Lisa xoxo

September 2Crafty Share Part 2 + Video


Hello again all!

I'm back again today to share another layout I have 
created using some gorgeous


'This Girl'


For this layout I have used some of the 'Grid Panel', 
that I have embossed in green, on my background.


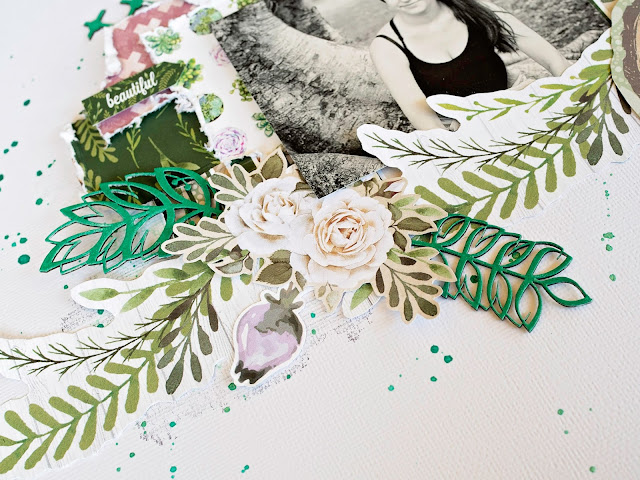
I have also used some of the 'Leafy Silhouettes', embossed in green and layered among 
my fussy cut flowers and foliage.


I have then also used some of the 'Lattice Leaves' layered among my flower cluster. 


And to finish my layout I have used the 'This Girl' title,
I LOVE these titles! Stunning fonts, in some great words.

I have also created a video tutorial for this layout.
You can watch it below :)


Thanks for stopping by, I hope you enjoyed your visit,
and will stop by again soon.

Lisa xoxo

September 2Crafty Share


Good morning all!!

I hope you are well? Today I have a layout to share with you that I have created
with some of my favourite 


Here is 'Gorgeous'


For this layout I have used some of the stunning 'Moroccan Bits'
that I have finished in white and then given a light blue wash.


I have also used one of the keyholes from the 'Keyholes & Locks'
I have left these finished in white.


I have also used the word gorgeous from the 'Fine Word Set 2', also finished in white.


And finally to finish I have used one of the pieces from the 'ATC Elements 1' pack, 
again finished in white.

I hope you like this layout, I'm really happy with how it turned out.
I'll be back soon with some more to share with you!

Lisa xoxo